Redis单机安装(Ubuntu)
1. 下载Redis
访问https://redis.io/download, 下载redis-7.2.4.tar.gz 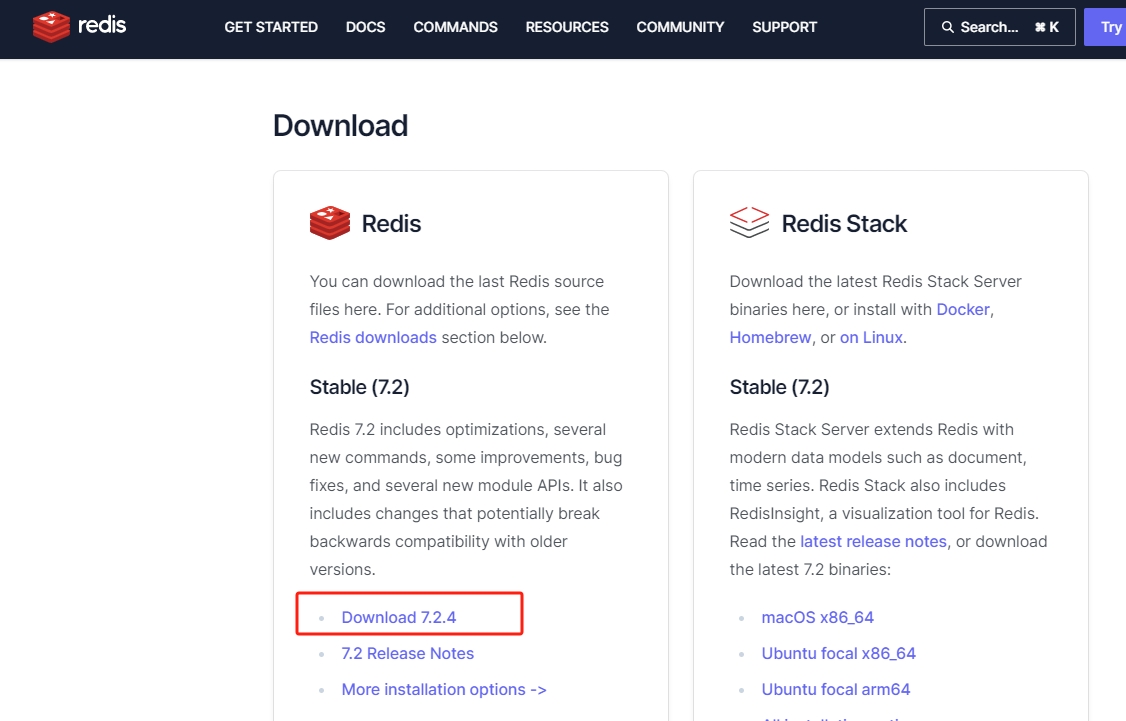
提示
不建议安装Windows版本Redis,🤗官网也不提供: 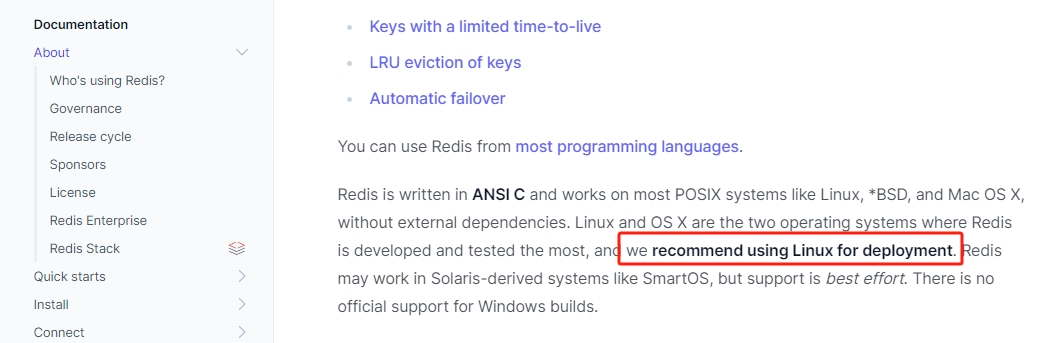
2. Linux环境准备
- 安装组件依赖
sh
sudo apt-get install -y --no-install-recommends \
    ca-certificates \
    wget \
    dpkg-dev \
    gcc \
    g++ \
    libc6-dev \
    libssl-dev \
    make \
    cmake \
    python3 \
    python3-pip \
    python3-venv \
    python3-dev \
    unzip \
    rsync \
    clang \
    automake \
    autoconf \
libtool- 配置系统参数
sh
sudo vim /etc/sysctl.conf
# 添加如下参数
vm.overcommit_memory = 1重启服务器生效。
3. 上传Redis并解压
将redis-7.2.4.tar.gz上传到/opt/software/
sh
jack@mysql01:/opt/software$ ll
总用量 3344
-rw-r--r--. 1 root root 3424072 3月   5 22:34 redis-7.2.4.tar.gz
jack@mysql01:/opt/software$ tar -xvf redis-7.2.4.tar.gz4. 编译安装
sh
cd /opt/software/redis-7.2.4
export BUILD_TLS=yes
export BUILD_WITH_MODULES=yes
export INSTALL_RUST_TOOLCHAIN=yes
export DISABLE_WERRORS=yes
# 编译(-j指定并行数)
make -j "$(nproc)" all
sudo make PREFIX=/opt/module/redis-7.2.4 install5. 配置redis
- 复制redis.conf文件到conf文件夹
sh
jack@mysql01:/opt/module/redis-7.2.4$ mkdir conf
jack@mysql01:/opt/module/redis-7.2.4$ cp /opt/software/redis-7.2.4/redis.conf /opt/module/redis-7.2.4/conf/- 修改配置redis.conf
sh
jack@mysql01:/opt/module/redis-7.2.4/conf$ vim redis.conf
# 支持后台启动 默认daemonize no改为yes
daemonize yes
## 保护模式会拒绝远程客户端的连接请求
protected-mode no
## 直接注释掉(默认bind 127.0.0.1只能本机访问)或改成本机IP地址,否则影响远程IP连接
# bind 127.0.0.1
## 添加redis访问密码
requirepass 123456
## 设置redis日志目录
logfile "/opt/module/redis-7.2.4/logs/redis.log"
## 记录pid文件
pidfile /opt/module/redis-7.2.4/logs/redis.pid
## 设置工作目录
dir /opt/module/redis-7.2.4/6. 启动redis
sh
jack@mysql01:/opt/module/redis-7.2.4$ ./src/redis-server conf/redis.conf
1406259:C 14 Apr 2025 19:48:09.149 # WARNING Memory overcommit must be enabled! Without it, a background save or replication may fail under low memory condition. Being disabled, it can also cause failures without low memory condition, see https://github.com/jemalloc/jemalloc/issues/1328. To fix this issue add 'vm.overcommit_memory = 1' to /etc/sysctl.conf and then reboot or run the command 'sysctl vm.overcommit_memory=1' for this to take effect.
jack@mysql01:/opt/module/redis-7.2.4$ sudo sysctl vm.overcommit_memory=1
[sudo] jack 的密码:
vm.overcommit_memory = 1
jack@mysql01:/opt/module/redis-7.2.4$ ./src/redis-server conf/redis.conf
jack@mysql01:/opt/module/redis-7.2.4$ ps -ef |grep redis
jack     1406260       1  0 19:48 ?        00:00:00 ./src/redis-server *:6379
jack 1406450 1357876 0 19:49 pts/1 00:00:00 grep --color=auto redis此时Redis服务器已经启动起来了。
7. 配置Redis开机自启
7.1 编写redis启动脚本
sh
#!/bin/bash

COMMAND=$1
if [ ! $COMMAND ];then
    echo "please input your operation"
    exit 1
fi
if [ "$COMMAND" != "start" -a "$COMMAND" != "stop" ];then
    echo "please input your operation in[start | stop]"
    exit 1
fi

# 配置redis的安装路径
REDIS_BIN_HOME=/opt/module/redis-7.2.4/src
REDIS_CONF=/opt/module/redis-7.2.4/conf/redis.conf
REDIS_USER=default
REDIS_PASS=123456

if [ "$COMMAND" = "start" ];then
    echo "starting  redis...."
    $REDIS_BIN_HOME/redis-server  $REDIS_CONF
elif [ "$COMMAND" = "stop" ];then
    echo "stop redis...."
    $REDIS_BIN_HOME/redis-cli --user $REDIS_USER -a $REDIS_PASS shutdown
fi
echo "$COMMAND success"7.2 编写redis服务
编写/etc/systemd/system/redis.service文件:
sh
[Unit]
Description=Redis In-Memory Data Store
After=network.target

[Service]
Environment="/usr/local/sbin:/usr/local/bin:/usr/sbin:/usr/bin"
User=root
Group=root
Type=forking
ExecStart=/home/jack/bin/redis.sh start
ExecStop=/home/jack/bin/redis.sh stop

[Install]
WantedBy=multi-user.target7.3 激活redis服务
sh
systemd daemon-reload
systemctl enable redis