服务注册中心
在cloud-consumer-order80工程的微服务中,服务提供方所在的IP地址和端口号硬编码到订单微服务中,会存在非常多的问题:
- 微服务的IP地址或者端口号发生了变化,则支付微服务将变得不可用。
- RestTemplate只负责调用,无法实现微服务的负载均衡功能。
- 如果后续需要增加订单服务,需要部署更多的订单微服务,硬编码订单微服务则后续的维护会变得异常复杂。
1. 服务注册中心之Eureka
目前Eureka已经停更进入维护阶段,后续不再新功能支持: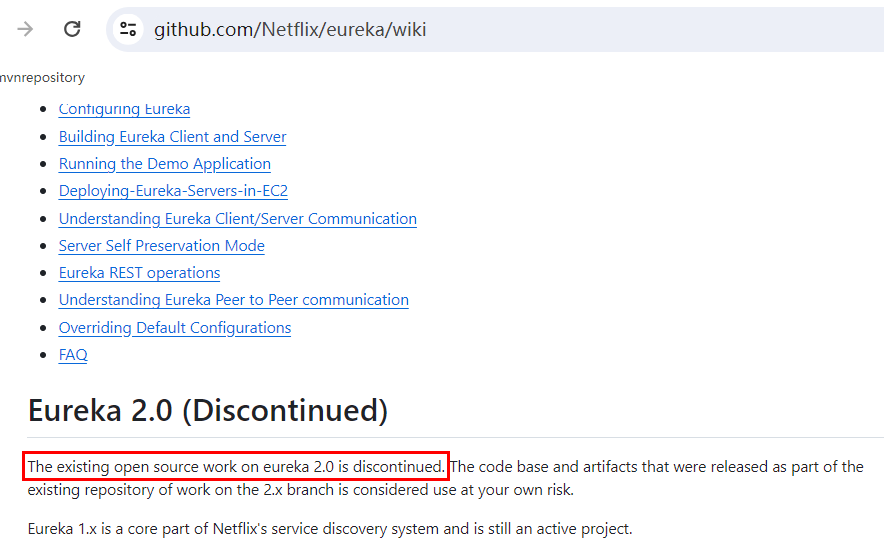 注册中心Eureka也是作为一个微服务且需要程序员自己开发部署,没有和微服务真正的分离解耦,仅仅做到和业务开发没有关系。现在越来越多开发需要服务注册中心作为单独一个中间件。
2. 服务注册中心之Consul
2.1 Consul介绍
Consul是一套开源的分布式服务发现和配置管理系统,用Go语言开发。提供了微服务系统中的服务治理、配置中心、控制总线等功能。它具有很多优点。包括:基于raft协议,比较简洁;支持健康检查, 同时支持HTTP和DNS协议 支持跨数据中心的WAN集群提供图形界面跨平台,支持Linux、Mac、Windows。官网地址为https://www.consul.io/
2.2 功能特性
- 服务发现:提供Http和DNS两种发现方式。
- 健康检测:支持多种方式,HTTP\TCP\Docker\Shell脚本定制化监控。
- KV存储:Key\Value的存储
- 多数据中心:Consul支持多中心
- 可视化Web页面
在SpringCloud中,定位主要用来作为服务发现和配置中心以及事件总线: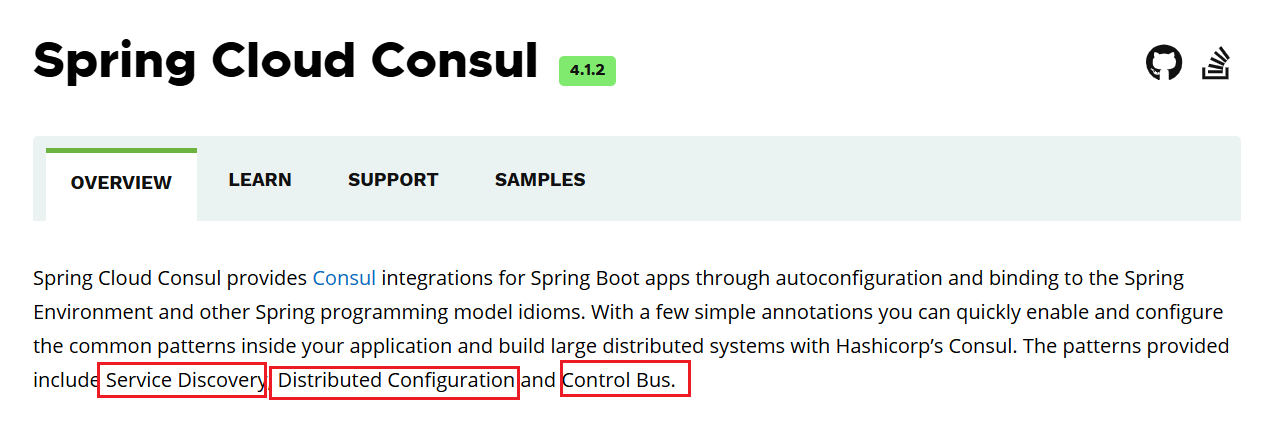
2.3 安装运行Consul
- 下载Consul
访问https://developer.hashicorp.com/consul/install,下载Consul软件。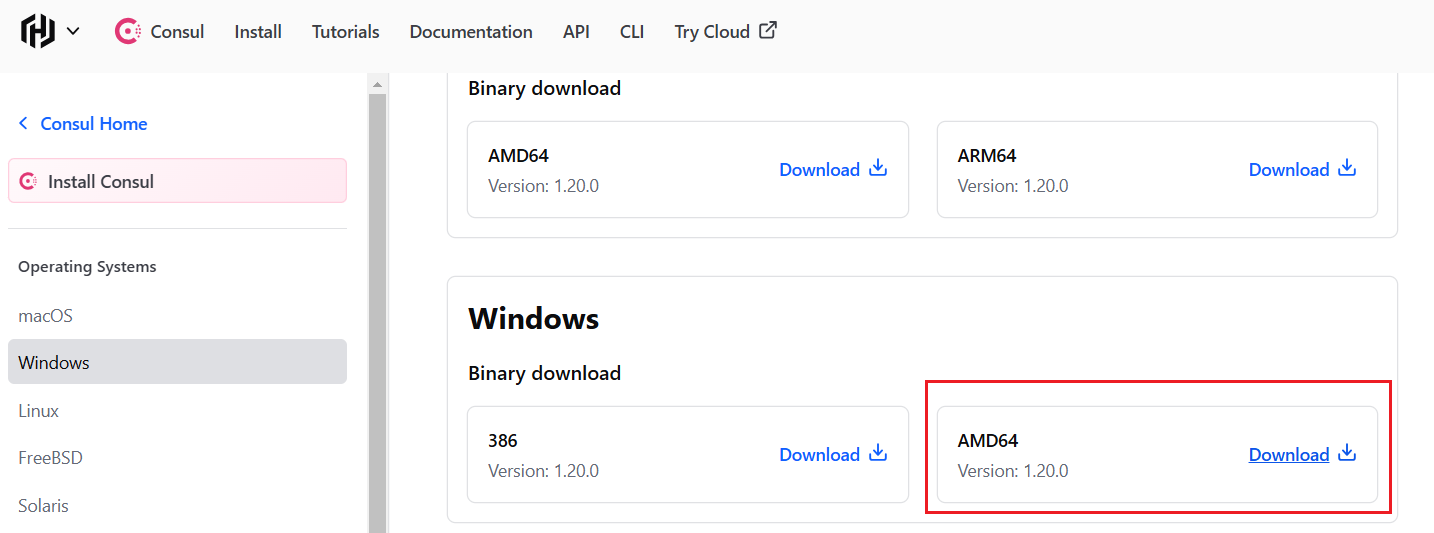
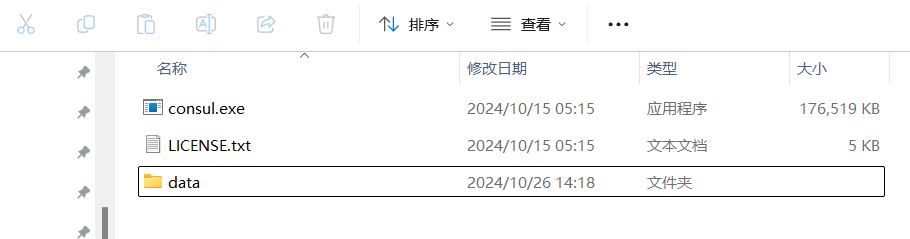
- 解压文件后查看版本号信息
E:\middleware\consul_1.20.0_windows_amd64>consul -version
Consul v1.20.0
Revision cddc6181
Build Date 2024-10-14T20:52:01Z
Protocol 2 spoken by default, understands 2 to 3 (agent will automatically use protocol >2 when speaking to compatible agents)- 创建consul配置持久化 在consul目录下面创建data目录:
- 启动consul
consul agent -server -ui -bind=127.0.0.1 -client=0.0.0.0 -bootstrap-expect 1 -data-dir E:\middleware\consul_1.20.0_windows_amd64\data
==> Starting Consul agent...
               Version: '1.20.0'
               .....
2024-10-26T08:36:47.296+0800 [DEBUG] agent: Skipping remote check since it is managed automatically: check=serfHealth
2024-10-26T08:36:47.296+0800 [DEBUG] agent: Node info in sync其中参数说明:
-bootstrap-expect: 仅适用于以服务器模式运行,后面接数字表示在集群中期望的成员数量-data-dir: 用于指定Consul节点的数据存储目录
2.4 访问Consul
访问Consul控制页面:http://localhost:8500/ ,结果如下: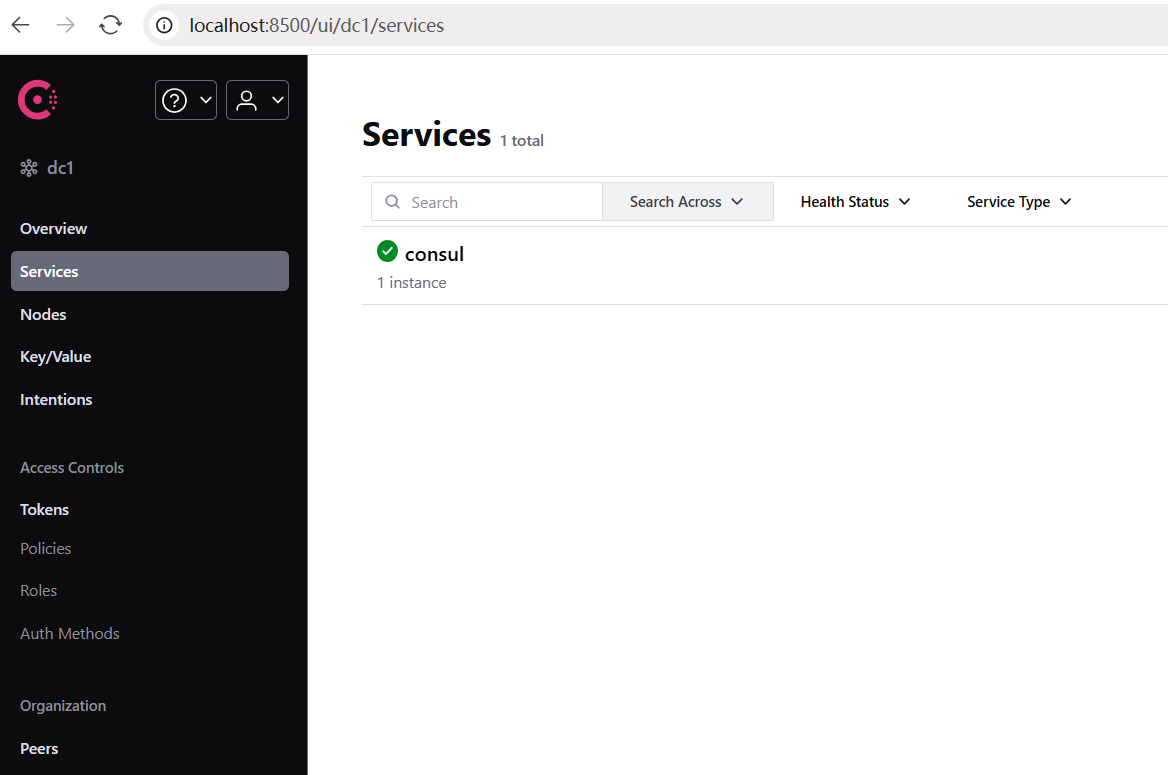
3. 微服务接入Consul
前面我们有两个工程:服务提供provider8001、服务消费consume80,现在进行相关配置即可接入。
3.1 服务提供接入Consul
- pom.xml中添加consul依赖:
<!--SpringCloud consul discovery -->
<dependency>
    <groupId>org.springframework.cloud</groupId>
    <artifactId>spring-cloud-starter-consul-discovery</artifactId>
</dependency>- application.yml配置consul
####Spring Cloud Consul for Service Discovery
  cloud:
    consul:
      host: localhost
      port: 8500
      discovery:
service-name: ${spring.application.name}- 在启动类加入注解,开启服务发现
package com.rocket.springcloud.provider;

import org.springframework.boot.SpringApplication;
import org.springframework.boot.autoconfigure.SpringBootApplication;
import org.springframework.cloud.client.discovery.EnableDiscoveryClient;
import org.springframework.data.jpa.repository.config.EnableJpaRepositories;

@EnableJpaRepositories(basePackages = {"com.rocket.springcloud.provider.dao"})
@SpringBootApplication
@EnableDiscoveryClient
public class PaymentMain {

    public static void main(String[] args) {
        SpringApplication.run(PaymentMain.class, args);
    }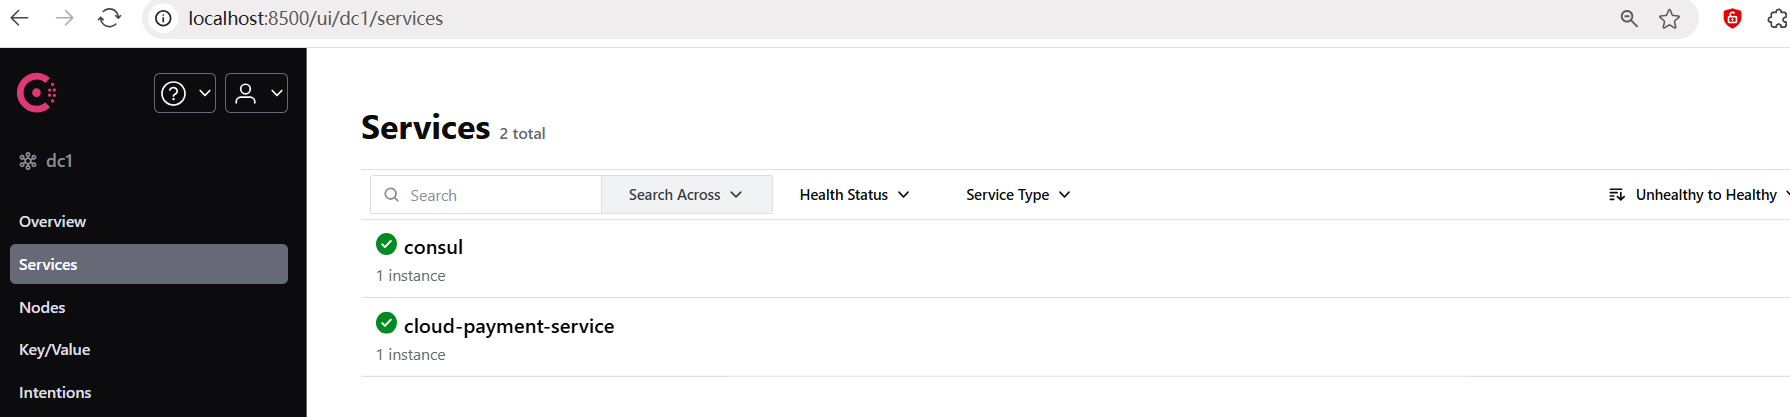
}- 查看Consul控制台:
3.2 服务消费接入Consul
- pom.xml中添加consul依赖:
<!--SpringCloud consul discovery -->
<dependency>
    <groupId>org.springframework.cloud</groupId>
    <artifactId>spring-cloud-starter-consul-discovery</artifactId>
</dependency>- application.yml配置consul
####Spring Cloud Consul for Service Discovery
  cloud:
    consul:
      host: localhost
      port: 8500
      discovery:
service-name: ${spring.application.name}- 在启动类加入注解,开启服务发现
@SpringBootApplication
@EnableDiscoveryClient
public class OrderMain {
    public static void main(String[] args) {
        SpringApplication.run(OrderMain.class, args);
    }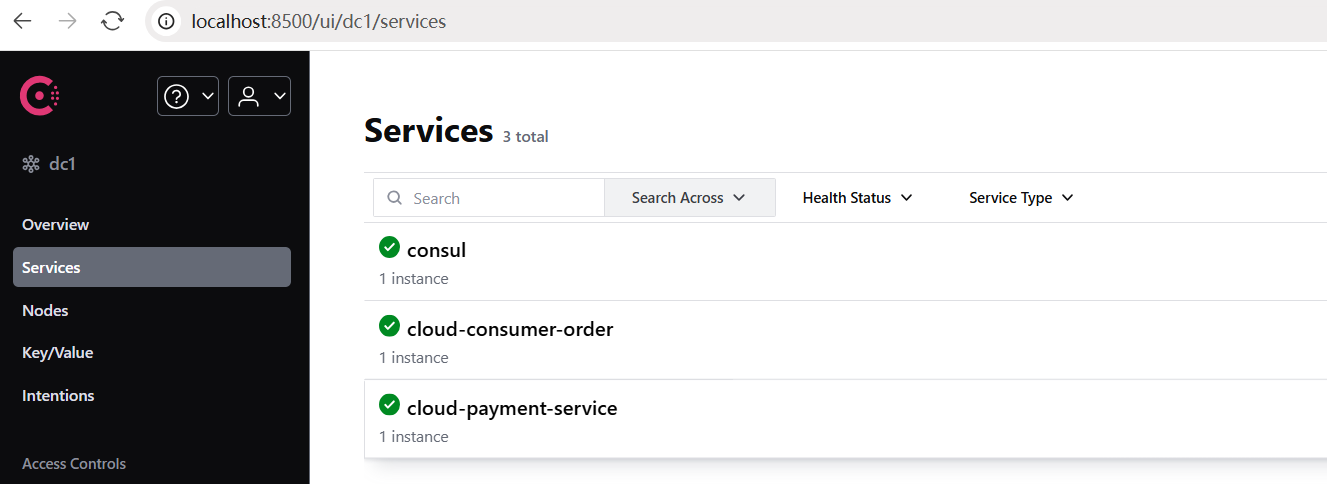
}- 查看Consul控制台:
- 修改OrderController:
@RestController
public class OrderController{
// public static final String PaymentSrv_URL = "http://localhost:8001";//先写死,硬编码
public static final String PaymentSrv_URL = "http://cloud-payment-service"; //服务注册中心上的微服务名称
@Autowired
private RestTemplate restTemplate;
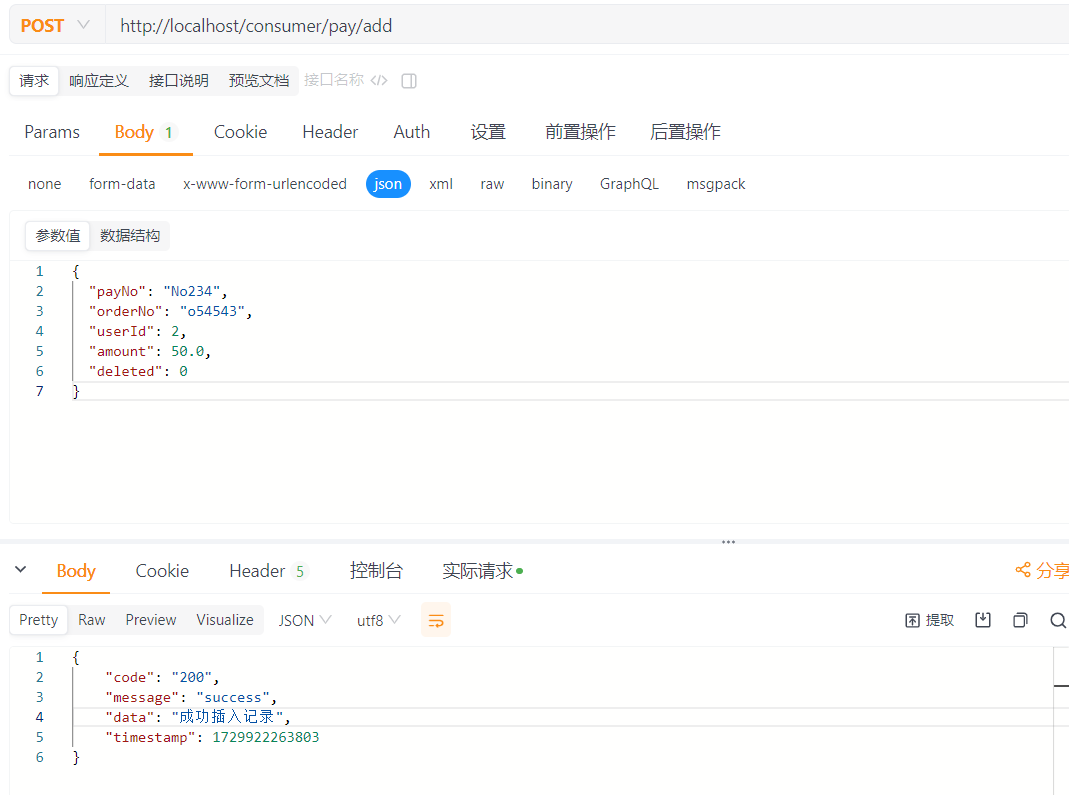
@PostMapping("/consumer/pay/add")
public ResultData addOrder(@RequestBody PayDTO payDTO){
return restTemplate.postForObject(PaymentSrv_URL + "/pay/add",payDTO,ResultData.class);
}
@GetMapping("/consumer/pay/get/{id}")
public ResultData getPayInfo(@PathVariable("id") Integer id){
return restTemplate.getForObject(PaymentSrv_URL + "/pay/get/"+id, ResultData.class, id);
}
}- 通过服务名称调用方式,会报错找不到相同服务名的主机,需要配置RestTemplate加上负载均衡
@Configuration
public class RestTemplateConfig {

    @Bean
    @LoadBalanced
    public RestTemplate restTemplate() {
        return new RestTemplate();
    }
}4. 不同注册中心区别
常见的注册中心有Eureka、Consul、Zookeeper,另外还有redis、nacos(后续spring-cloud-alibaba说明)
| 组件名 | 语言 | CAP | 服务健康检查 | 对外暴露接口 | SpringCloud集成 |
|---|---|---|---|---|---|
| Eureka | java | AP | 可配支持 | Http | 已集成 |
| Consul | go | CP | 支持 | Http/DNS | 已集成 |
| Zookeeper | java | CP | 支持 | 客户端 | 已集成 |
CAP理论
CAP指的是:
- C(Consistency): 一致性
- A(Availability): 可用性
- P(Partition tolerance): 分区容错性
CAP理论的核心是:一个分布式系统不可能同时很好的满足一致性,可用性和分区容错性这三个需求,由于分布式系统的刚需是分区容错性,所以有两大类:
- CP: 满足一致性,分区容忍必的系统,通常性能不是特别高。
- AP: 满足可用性,分区容忍性的系统,通常可能对一致性要求低一些。
5. 基于Consul的配置中心
随着系统进行拆分微服务化,由于每个服务都需要必要的配置信息才能运行,上百个配置文件的维护管理就需要一套集中式的、动态的配置管理设施。
5.1 修改pom.xml
调整cloud-provider-payment8001工程的pom.xml:
<!--SpringCloud consul config-->
<dependency>
    <groupId>org.springframework.cloud</groupId>
    <artifactId>spring-cloud-starter-consul-config</artifactId>
</dependency>
<dependency>
    <groupId>org.springframework.cloud</groupId>
    <artifactId>spring-cloud-starter-bootstrap</artifactId>
</dependency>5.2 创建bootstrap.yml
applicaiton.yml是用户级的资源配置项;bootstrap.yml是系统级的,优先级更加高;bootstrap.yml是比application.yml先加载的。默认情况下,它们不会被本地配置覆盖。
Spring Cloud设计的有一个"Bootstrap Context",作为Spring应用的Application Context的父上下文。初始化的时候,Bootstrap Context负责从外部源加载配置属性并解析配置。新增了一个bootstrap.yml文件,保证Bootstrap Context和Application Context配置的分离。
cloud-provider-payment8001工程中,创建bootstrap.yml文件,内容如下:
spring:
  application:
    name: cloud-payment-service
  #### Spring Cloud Consul for Service Discovery
  cloud:
    consul:
      host: localhost
      port: 8500
      discovery:
        service-name: ${spring.application.name}
      config:
        enabled: true
        profile-separator: '-' ## 默认是','
        format: yaml
data-key: data # 默认是data5.3 在Consul添加配置
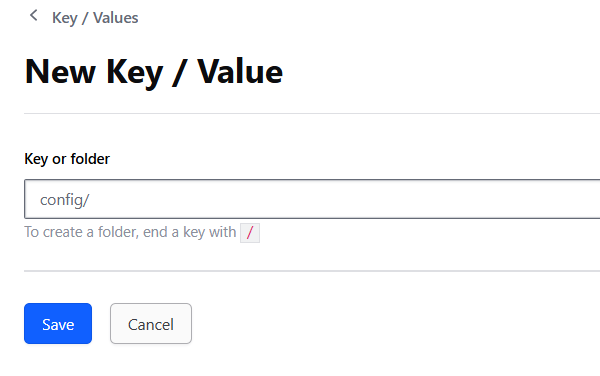
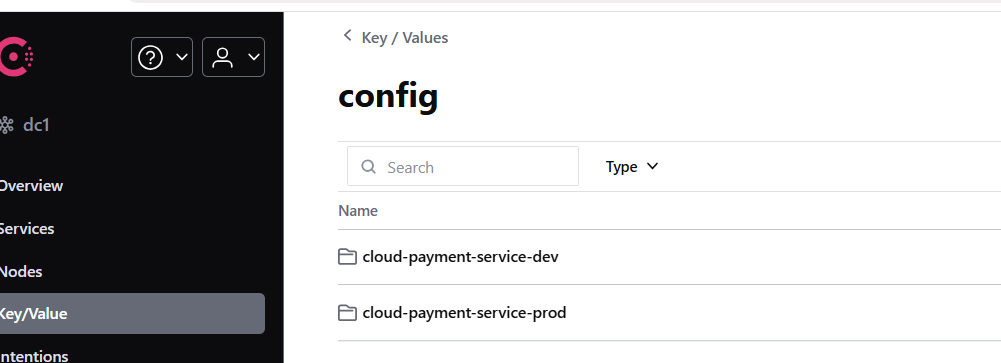
- 在Consul页面控制台上面,选择key/value菜单:

- 创建config目录,Consul配置文件夹需要以/结尾:
- 在config目录下,创建cloud-payment-service-dev和cloud-payment-service-prod目录:
- 前面bootstrap.yml文件配置
format: yml, 按照Spring-Cloud-Consul配置约定,需要配置名叫data的key,然后在cloud-payment-service-dev中将application.yml中的内容加到data里面: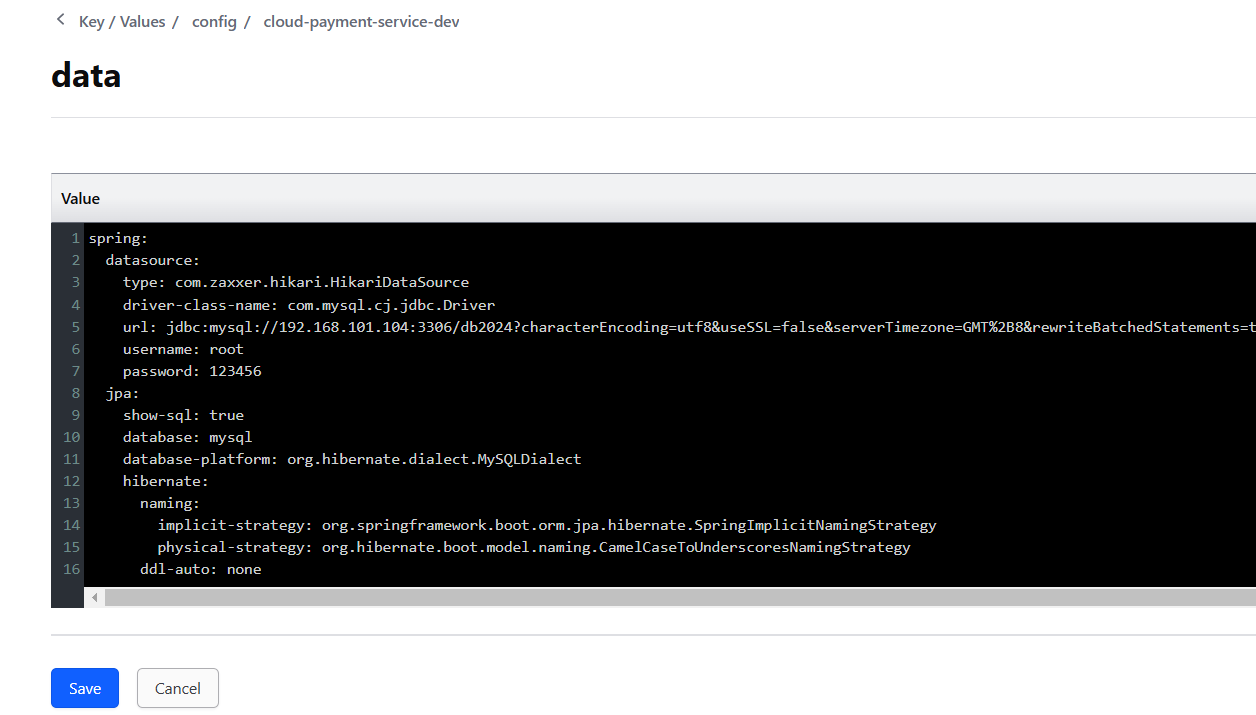
- 为了区分配置cloud-payment-service-dev和cloud-payment-service-prod, 创建prod数据库为db01,再把db01库中添加t_pay表:
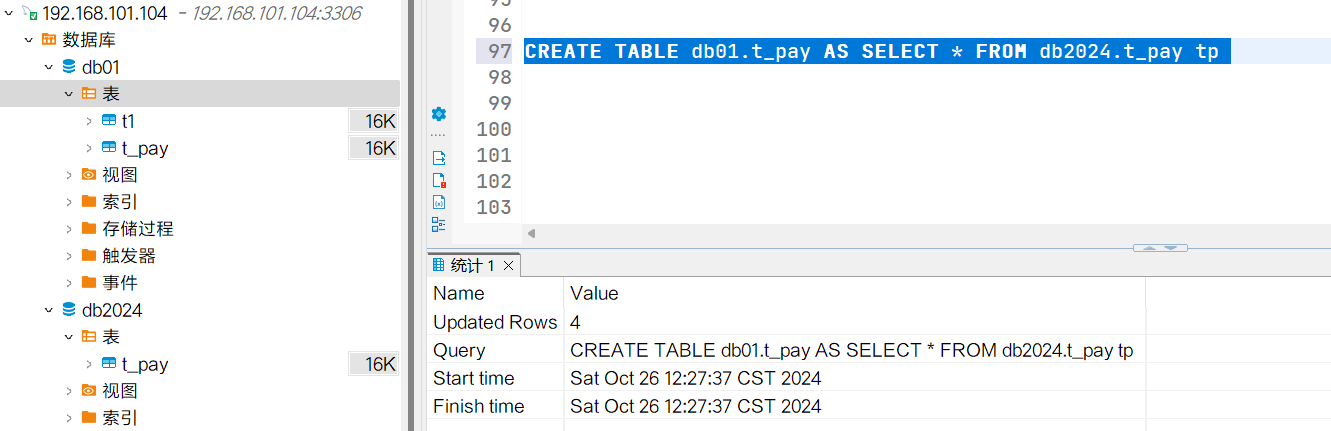
在cloud-payment-service-prod中将application.yml中的内容加到data里面: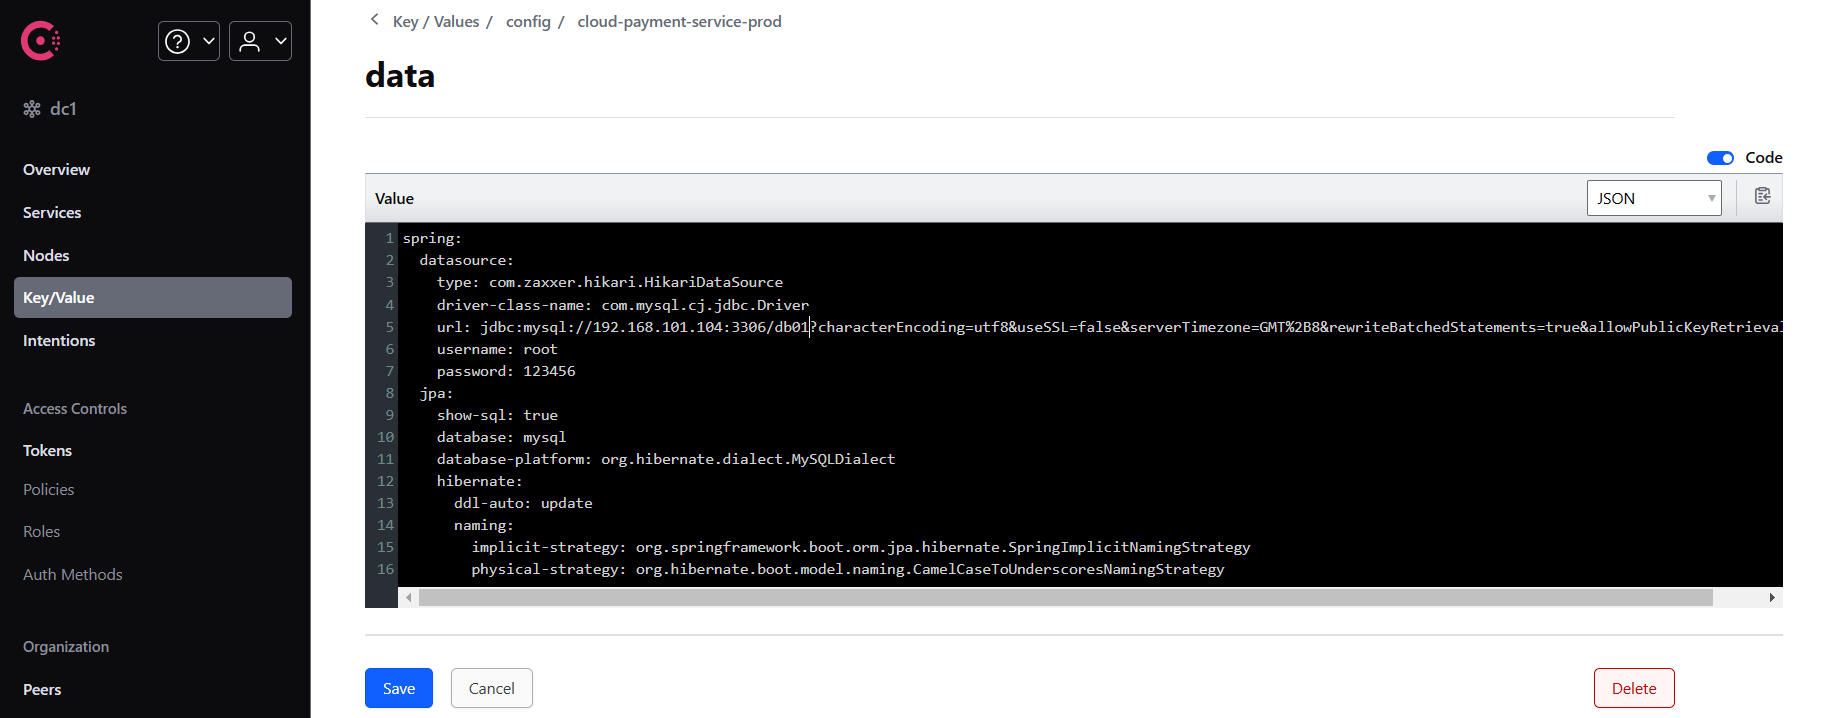
5.4 简化application.yml配置
cloud-payment-service8001工程中,调整application.yml:
server:
  port: 8001

spring:
  profiles:
active: prod5.5 验证配置功能
 查询生产库db01中的数据
6. Consul动态配置
如果我们修改了consul中的配置信息,会发现cloud-payment-service8001工程并没有生效。如果要支持动态调整consul中配置及时生效,需要配置cloud-payment-service8001工程。
- 修改启动类,添加@RefreshScope注解:
@EnableJpaRepositories(basePackages = {"com.rocket.springcloud.provider.dao"})
@SpringBootApplication
@EnableDiscoveryClient
@RefreshScope
public class PaymentMain {

    public static void main(String[] args) {
        SpringApplication.run(PaymentMain.class, args);
    }
}- bootstrap.yml文件调整, 增加监视文件变更相关配置, 每隔10s检测内容变化:
spring:
  application:
    name: cloud-payment-service
  #### Spring Cloud Consul for Service Discovery
  cloud:
    consul:
      host: localhost
      port: 8500
      discovery:
        service-name: ${spring.application.name}
      config:
        enabled: true
        profile-separator: '-' ## 默认是','
        format: yaml
        data-key: data  # 默认是data
        watch:
          enabled: true
          wait-time: 10 # 默认55s